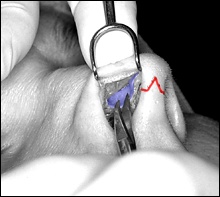
 The two parts of the
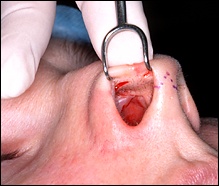
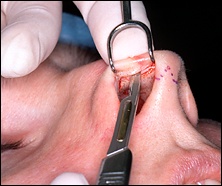
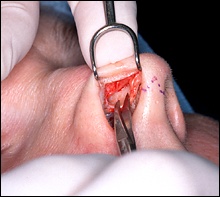
incision are now joined, completing the marginal incision. In the photo above
left, the little red cut on the left is the lateral part of the incision, and
the red cut next to the columella is the medial part of the incision.
Above right, I am joining those two pieces of the incision.
Note that the
surgeon's non-dominant hand is as important as his dominant hand: the
non-dominant hand positions the tissue, holds a secondary instrument, puts
tension on a cartilage that might need to be under tension in order to be cut
accurately,
or performs one of a myriad other tasks. Here, my left hand is holding a
retractor that exposes the inside of the right nostril. My left finger is
pressing on the outside of the nose to expose the area to cut and hold it taught
for the scalpel. The scalpel, of course, is held in the dominant hand.
|
